
Uncover the Secret to a Deliciously Moist Gluten Free Coconut Cake
- Heather Norfolk
- Jul 23, 2025
- 3 min read

Coconut lovers, get ready to indulge! If you're searching for a gluten-free cake that’s not just delicious but also incredibly moist, you’re in the right place. This gluten-free coconut cake is a real treat, perfect for celebrations or a cozy afternoon snack. The magic of its moisture and flavor comes from a delightful mix of coconut cream and shredded coconut. Let’s explore how you can whip up this heavenly dessert right in your kitchen!

Ingredients You'll Need
Before diving into the preparation, let's gather all the ingredients. They are simple and easy to find!
For the Cake:
Pillsbury Yellow Gluten Free Cake Mix
2 tablespoons full-fat coconut milk
1/3 cup vegetable oil
3 large eggs
1 tsp coconut extract
1 tsp vanilla extract
A pinch of salt
1/2 pkg. of instant vanilla pudding mix
1/2 cup of milk until the cake batter is the consistency of brownie batter.
For the Coconut Frosting:
1 cup salted butter (room temperature)
4 cups powdered sugar
¼ cup coconut milk
1 tsp vanilla extract
2 cups shredded coconut (for topping)
Cherries for topping
Now that you have everything ready, let’s move ahead!

Step-by-Step Instructions
1. Preheat Your Oven
Start by preheating your oven to 350°F (175°C). Proper preheating ensures consistent baking throughout.
2. Prepare Your Baking Pans
Grease a bundt pan or two 9 inch round pans
3. Mix the Dry Ingredients
In a large mixing bowl, mix together all cake ingredients.
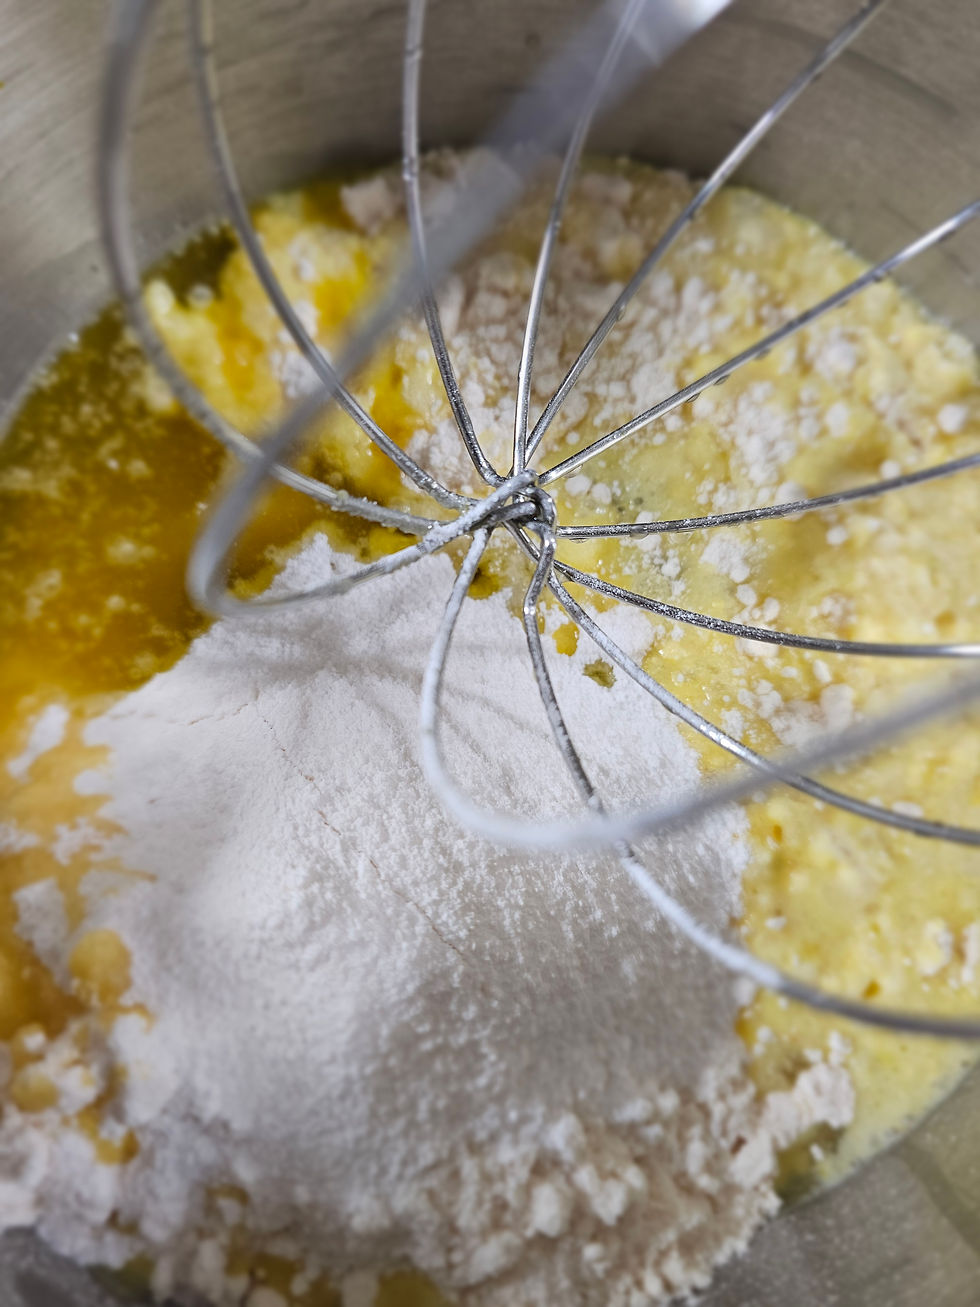
4. Add the Wet Ingredients
Create a well in the middle of the dry mixture and add the coconut milk, vegetable oil, eggs, pinch of salt, pudding mix (entire contents), coconut extract and vanilla extract. Mix on medium speed with an electric mixer for about 2 minutes until the batter is smooth.
5. Pour and Bake
Divide the batter evenly in the prepared pan. Bake for 30-45 minutes. (Keep a close eye on it checking multiple times at the end, cooking changes time with pudding mixture added. Toothpick inserted into the center should come out clean when it's done.

6. Cool the Cake
Remove the cake from the oven and it cool in the pan for about 10 minutes. Then transfer to a wire rack to cool completely.

Preparing the Coconut Frosting
While the cake cools down, let’s prepare the coconut frosting that will take this cake to the next level!
1. Beat the Butter
In a bowl, beat softened butter until it’s creamy and light in color. This step ensures your frosting is fluffy.
2. Gradually Add Sugar
Slowly incorporate the powdered sugar and coconut milk, mixing until you achieve a smooth, spreadable consistency, about 2-3 minutes.
3. Flavor Your Frosting
Add in the vanilla and coconut extract. If your frosting is too thick, mix in more coconut milk. If it’s too thin, add more powdered sugar until you get the right texture.


4. Assemble the Cake
Once cooled, place one cake layer on a serving platter. Spread a generous amount of frosting on top before adding the second layer. Add remaining frosting over the top and sides of the cake, finishing with a sprinkle of shredded coconut for added texture and flavor.

Tips to Ensure Success
Choose the Right Ingredients
Coconut Milk: Always go for full-fat coconut milk. It provides a rich and creamy texture that enhances the cake’s moistness.
Don't Rush the Cooling Process
Letting your cakes cool completely ensures that the frosting won't melt. A warm cake can lead to a messy frosting job.
Customize Your Cake
Consider adding cherries on top of your cake of whatever you like .
Storing Your Cake
You’ll want to enjoy your cake for as long as possible. Store it in an airtight container in the fridge for up to a week. To keep it moist, wrap it in plastic wrap before placing it in the fridge.
Final Thoughts
Your search for a deliciously moist gluten-free coconut cake concludes here! With easily accessible ingredients and straightforward steps, you can create a dessert that's not only stunning but also incredibly tasty. Ideal for gatherings, celebrations, or just a sweet treat on a Tuesday, this coconut cake is bound to impress.
Now that you have the secret to crafting this delightful recipe, why not try it out? Share your experiences and any fun twists you add; baking is a wonderful canvas for creativity. Happy baking, and may your coconut cake turn out as delicious as it sounds!


Comments